Dongle V2
Find out how to install the P1 Dongle V2 here.

Check the installation conditions first:
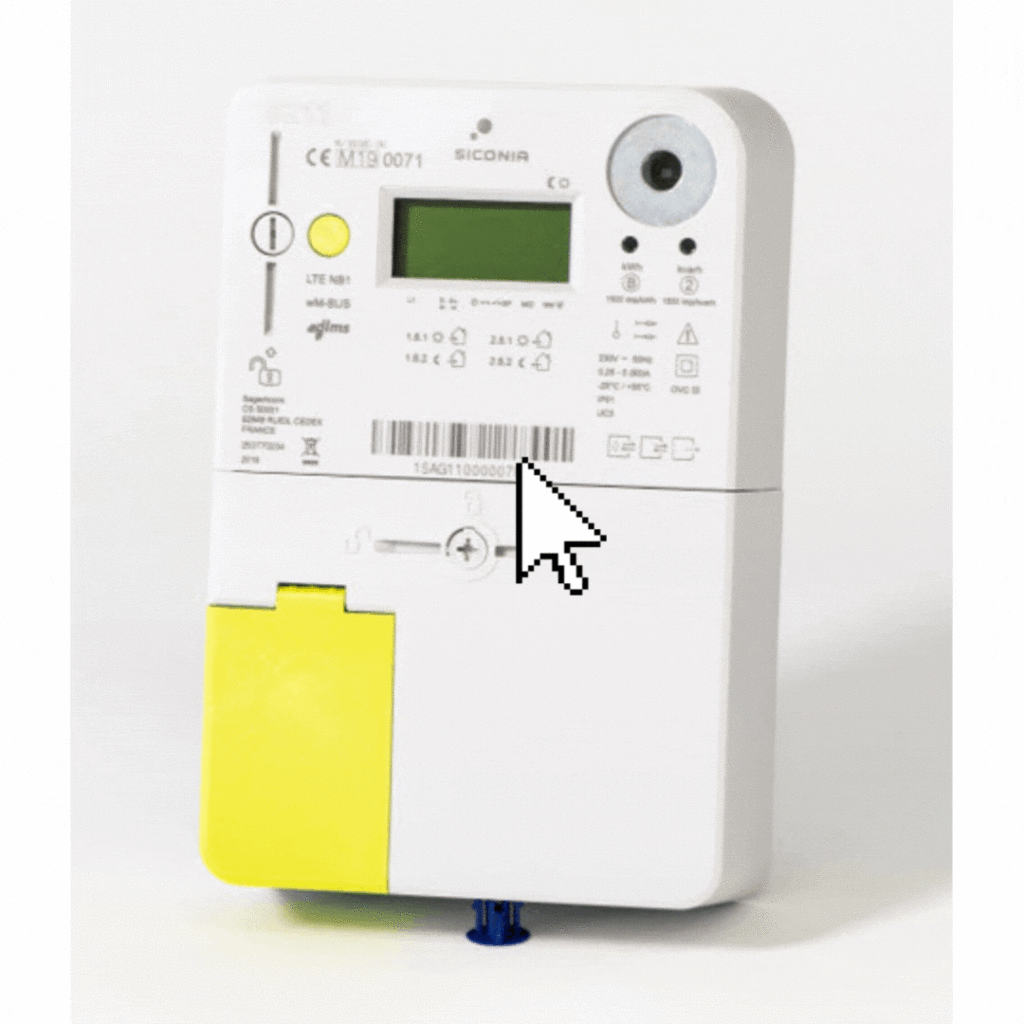
Digital meter with an available P1 port
Your digital meter will need to have an available P1 port.
This is the port where the Scopt dongle needs to be plugged in.

If you don’t have a free port anymore you will need to buy an active splitter.
This way you can connect multiple P1 devices.
See here .
You must activate the P1 port via My Fluvius .

Step 1:
Activate the P1 port of your digital meter
Before we can read the data from your digital meter, it is important that the P1 port is activated. To do this, you must first go to your personal login page on ” My Fluvius “, once you are logged in, you can activate the P1 port.

Step 2:
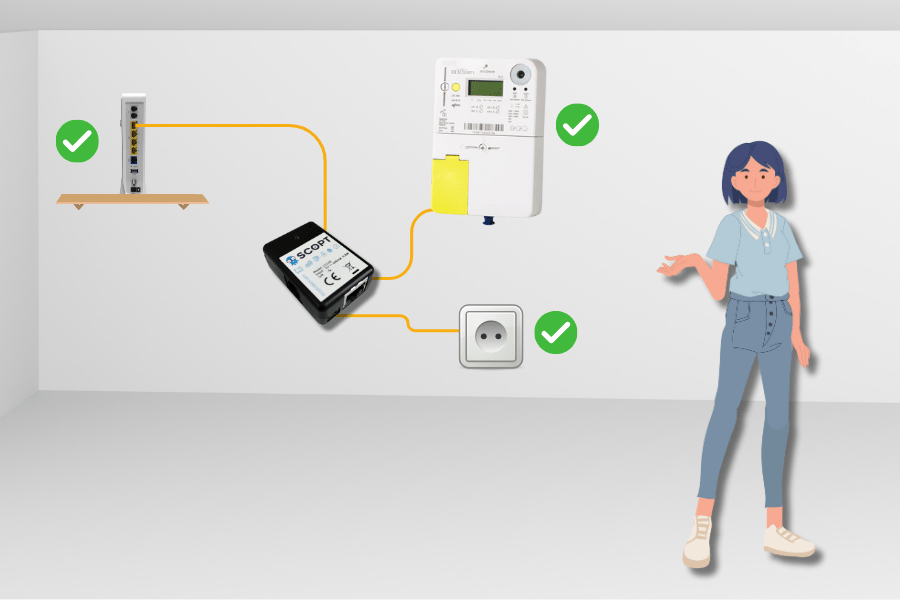
Installing the dongle
The installation of the dongle is very easy.
Next to it you can find a step-by-step video.
All you need is a power outlet and a wired network connection.
Step 3:
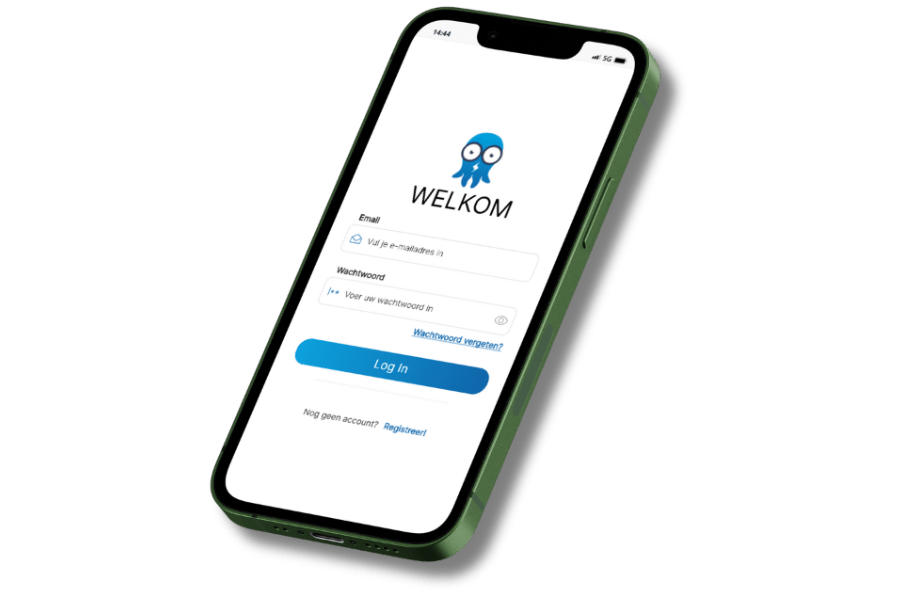
Activating the dongle via the app
Once everything is installed properly you will need to activate the dongle.
Surf to https://app.scopet.be
Create an account and follow the steps in the app.

Step 4:
Install the app on your home screen
Scopt is a web application and that is super handy! You can consult it on your mobile phone as well as on your PC.
CLICK HERE to see how to add Scopt to your mobile phone’s home screen.
Welcome to the Scopt platform!

Got a question?
Do you have any questions? Take a quick look at our FAQ page and find answers to the most common questions.

