Activatie P1 dongle & Scopt app
Activeer de smart charging functionaliteiten in de app en bespaar tot €50/maand tijdens jouw thuislaadsessies!
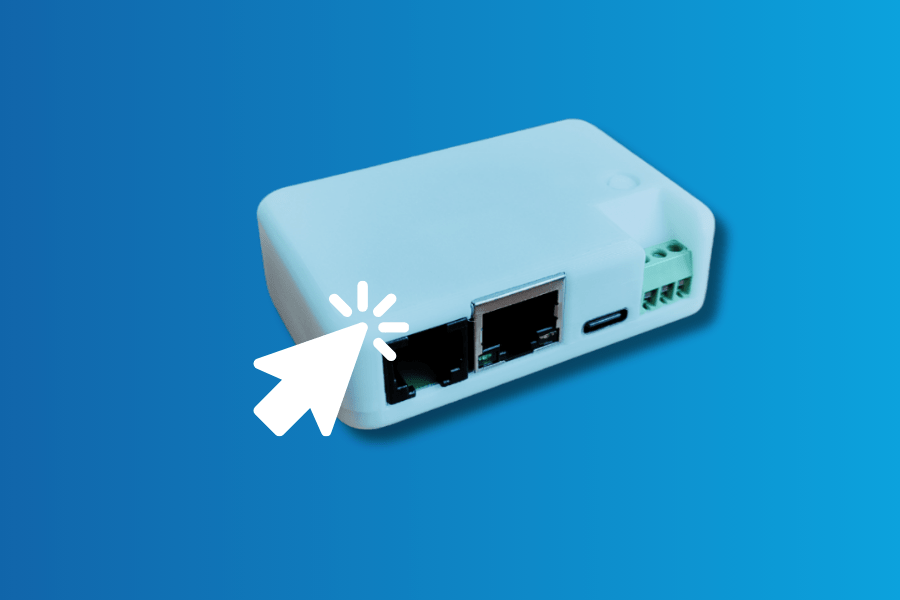
Installatie voorwaarden:
Een digitale meter met een beschikbare P1 poort
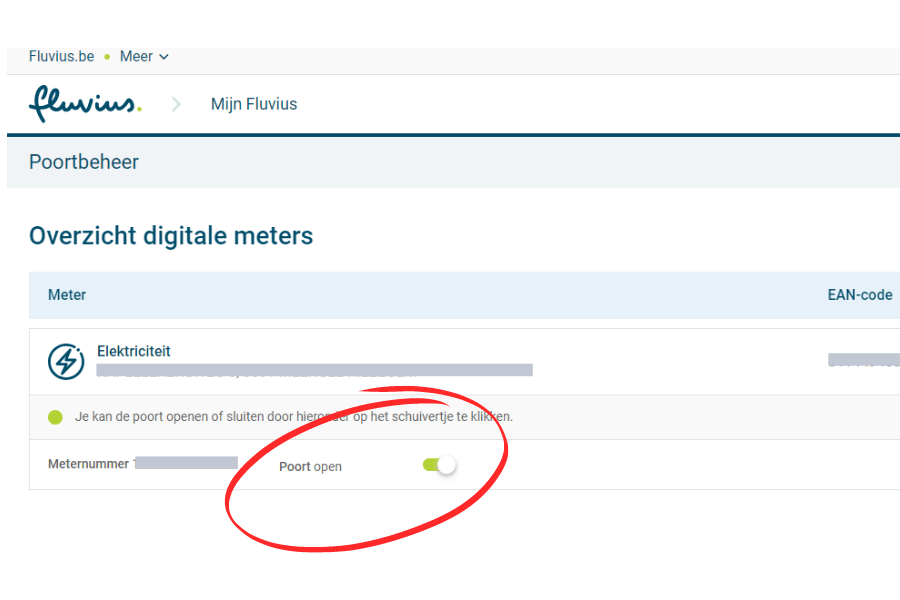
Elke digitale meter heeft een P1 poort. Het is belangrijk dat je op voorhand de P1 poort activeert via mijnfluvius.
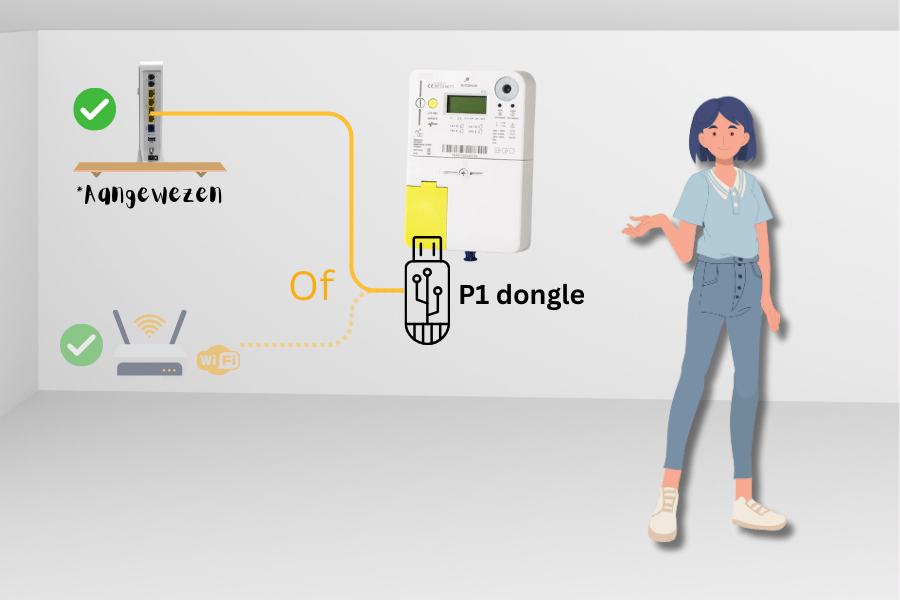
Internetverbinding aan de digitale meter
Er zijn 2 mogelijkheden om de P1 dongle te connecteren, namelijk met een vaste internetverbinding of wifi.
Indien mogelijk opteren we altijd voor een vaste kabelverbinding, gezien deze connectiviteit veel stabieler werkt.
Stap 1:
Activeer je P1 poort
Voor je van start kan gaan dien je eerst de P1 poort van je digitale meter te activeren. Hiervoor dien je in te loggen op mijn fluvius pagina en de P1 poort te activeren. ” Mijn Fluvius “, eens je bent ingelogd op je Mijn Fluvius account zal je onder poortbeheer de dongle moeten activeren.
Stap 2:
Installeer en configureer de P1 dongle
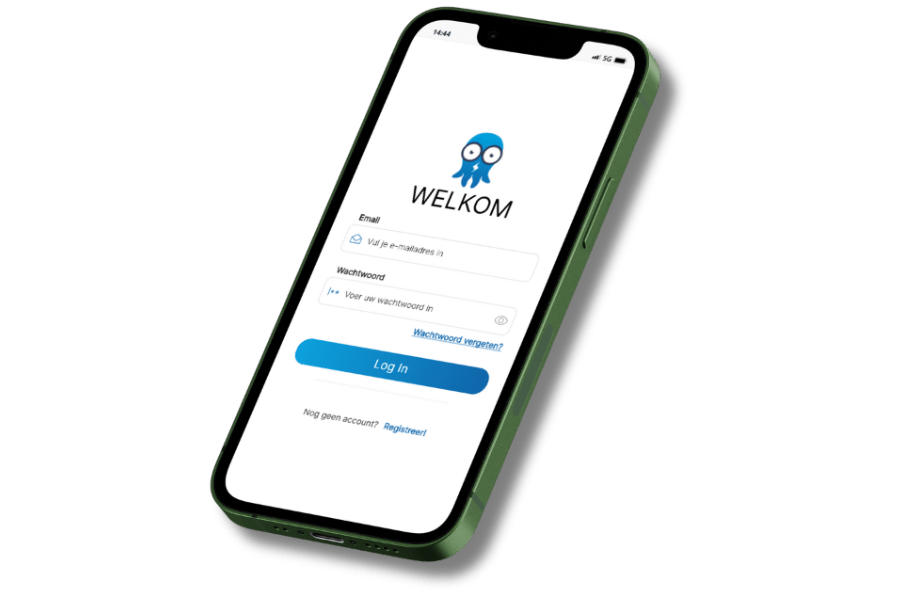
Surf in je browser naar https://app.scopt.be/. Maak vervolgens een account aan en doorloop de installatie stappen. Bekijk ook zeker de video, hier wordt alles stap per stap in uitgelegd.
Stap 3:
Installeer de app op je startscherm
Eens alles is geïnstalleerd kan je gebruik beginnen maken van app. De app is niet te zien in de app store, maar kan je rechtstreeks bereiken via een browser.
Surf naar de app https://app.scopt.be/, bij verschillende toestellen wordt er automatisch gevraagd om de app vast te maken aan je startscherm.
Indien dat niet het geval is, klik dan hier om de handleiding te bekijken over hoe je de app vastmaakt aan je startscherm.
Heb je vragen?
Neem zeker een kijkje op onze uitgebreide FAQ-pagina en vind het antwoord op je vraag.
